

I’m going to show you how to build a broom-finish concrete patio that looks like a pro did it. Even if you’ve never worked with concrete before.
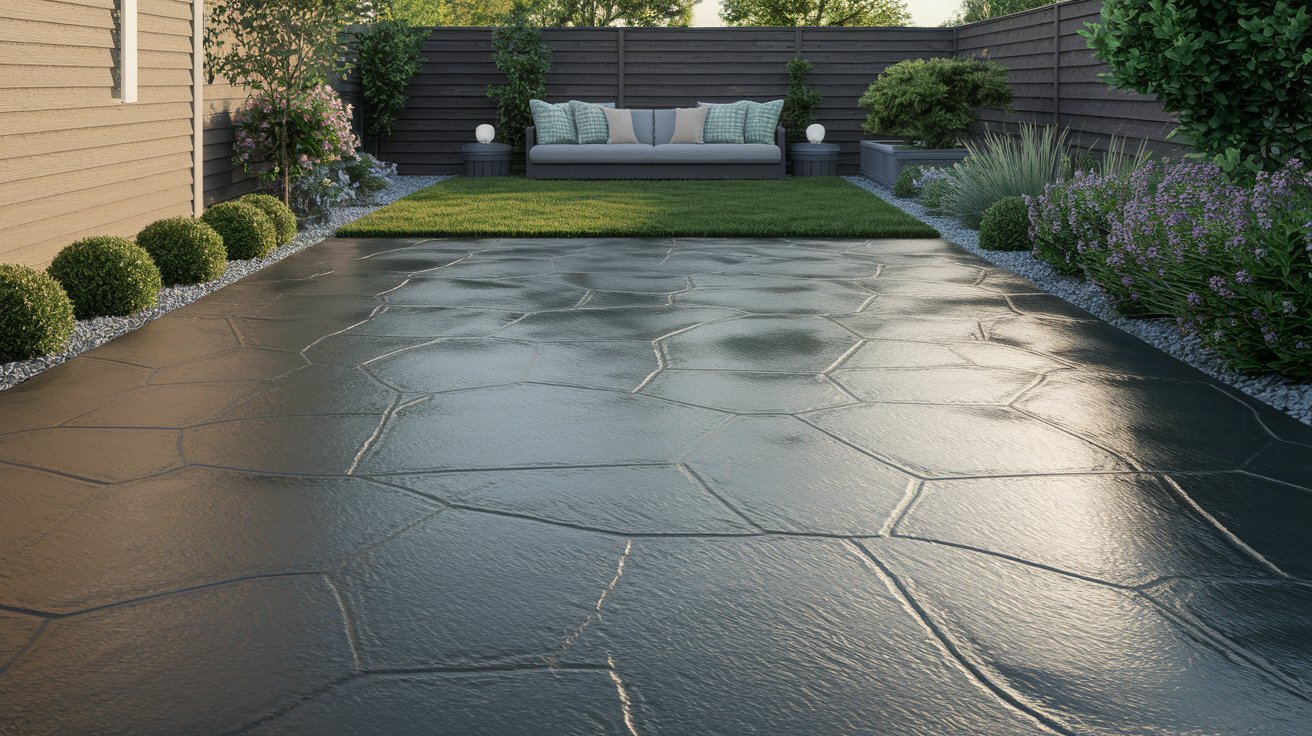
A broom finish patio is concrete that gets textured with a broom while it’s still wet. This creates tiny grooves that prevent slipping.
These patios are popular for good reason. They resist slips in wet weather. They last for decades. And they look clean and professional.
The texture hides small imperfections, too. That makes them perfect for DIY projects.
You don’t need expensive tools or years of experience. Just the right steps in the right order. I’ll walk you through everything.
The secret lies in timing your broom work perfectly and preparing your base properly.
By the end, you’ll have a patio that rivals any contractor’s work. Let’s get started.
What Is a Broom Finish Concrete Patio?

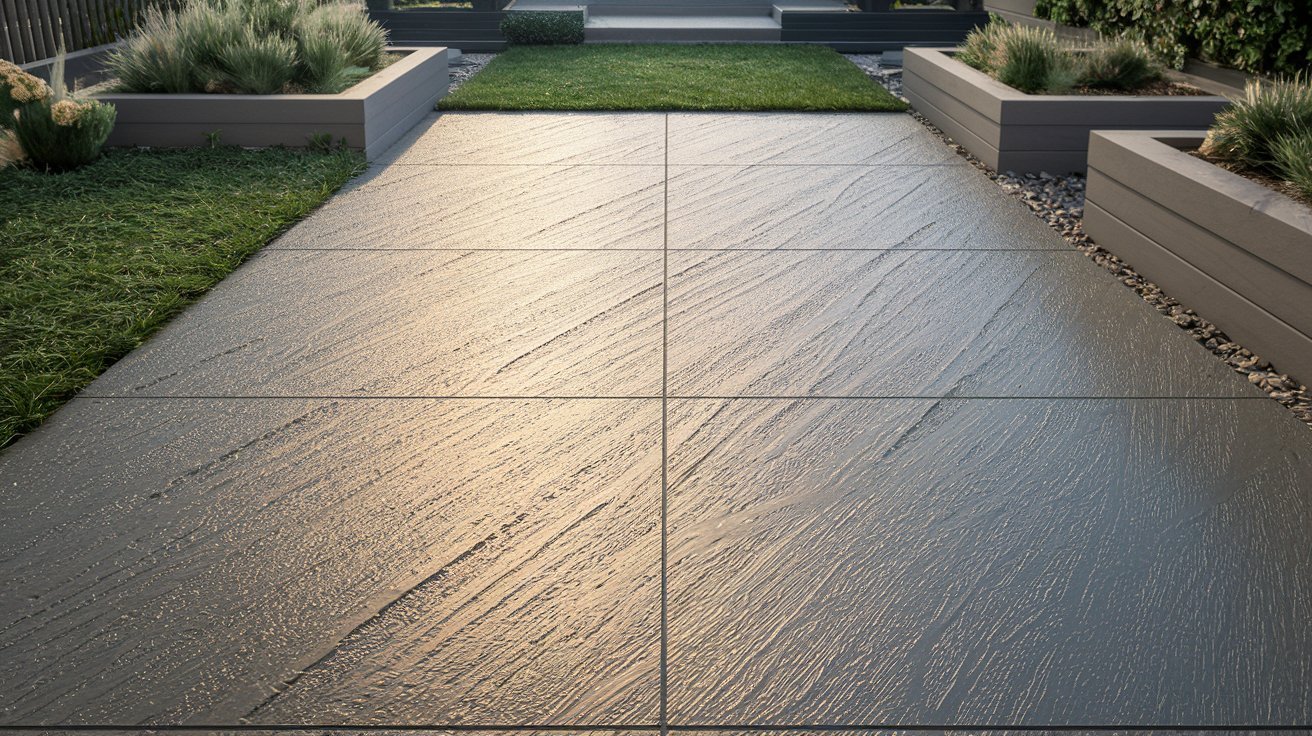
A broom-finish concrete patio has a textured surface created by dragging a broom across wet concrete. The bristles leave parallel lines that create grip.
It’s called “broom-finish” because that’s exactly how it’s made. Simple.
You’ll see this finish on:
- Patios and decks
- Walkways and sidewalks
- Pool areas
- Driveways
The benefits are clear. The texture prevents slipping when wet. It costs less than decorative concrete. And it’s easy to maintain.
The grooves also hide footprints and minor stains. Your patio stays looking clean longer.
This finish works in any climate. Hot or cold. Wet or dry. It performs consistently.
Tools and Materials You’ll Need

Concrete and Mixing:
- Ready-mix concrete
- Wheelbarrow or portable mixer
- Shovel and hoe for mixing
Forming and Shaping:
- 2×4 lumber for forms
- Stakes and duplex nails
- String line and level
Finishing Tools:
- Screed board
- Bull float
- Medium-stiff broom
- Steel edger
- Groover for control joints
- Hand trowel
Safety Gear:
- Rubber gloves
- Safety glasses
- Rubber boots
- Knee pads
Curing Supplies:
- Plastic sheeting or curing compound
- Garden sprayer
Get everything ready before you start. Concrete waits for no one.
Preparing the Area

Choose Your Location: Pick a spot with good drainage. Avoid low areas where water collects. Check for underground utilities before digging.
Mark and Excavate: Mark the patio boundaries with spray paint. Dig 6-8 inches deep for the concrete plus base material. Keep the excavation level. Use a long 2×4 and a level to check.
Add the Base: Spread 2-3 inches of gravel. Compact it with a hand tamper or plate compactor. This base prevents settling and cracking. Don’t skip it.
Install Forms: Set 2×4 boards around the perimeter. These hold the concrete shape. Stake them every 3 feet. Check that they’re level and square. The top of your form is your finished concrete height.
Add Reinforcement: For patios larger than 10×10 feet, add wire mesh or rebar. Place it in the middle third of the concrete thickness.
Pouring and Leveling the Concrete
Mix Your Concrete
Follow the bag instructions exactly. Too much water weakens concrete. Too little makes it hard to work.
Order ready-mix for large patios. It’s worth the cost for consistent results.
Pour and Spread
Start at one end. Pour concrete slightly above the form tops.
Work quickly. You have about 30-45 minutes in warm weather.
Screed for Level
Drag a straight 2×4 across the forms. Use a sawing motion.
This removes excess concrete and levels the surface.
Fill low spots immediately. Screed again.
Float the Surface
Wait 15-30 minutes. Then run a bull float across the surface.
This brings cream to the top. It also embeds a large aggregate.
Push the float away from you. Pull it back with the blade tilted slightly up.
Now wait for the right brooming time. This is critical.
Creating the Perfect Broom Finish
Timing is Everything
The concrete must be firm enough to walk on but still workable. Test with your finger.
If you can press in about 1/4 inch, it’s ready. Usually 1-3 hours after floating.
Too early, and the broom tears the surface. Too late, and it won’t texture.
Broom Technique
Start at one edge. Drag the broom across the entire width in one smooth motion.
Keep consistent pressure. Overlap each pass slightly.
Pull the broom toward you. Don’t push it away.
Clean the bristles often. Concrete buildup ruins the texture.
Keep Lines Straight
Use a string line as a guide. Or snap chalk lines before you start.
Maintain the same angle for all passes. This creates a uniform texture.
Finish the Edges
Run an edger around the perimeter while the concrete is still workable.
This creates clean, rounded edges that resist chipping.
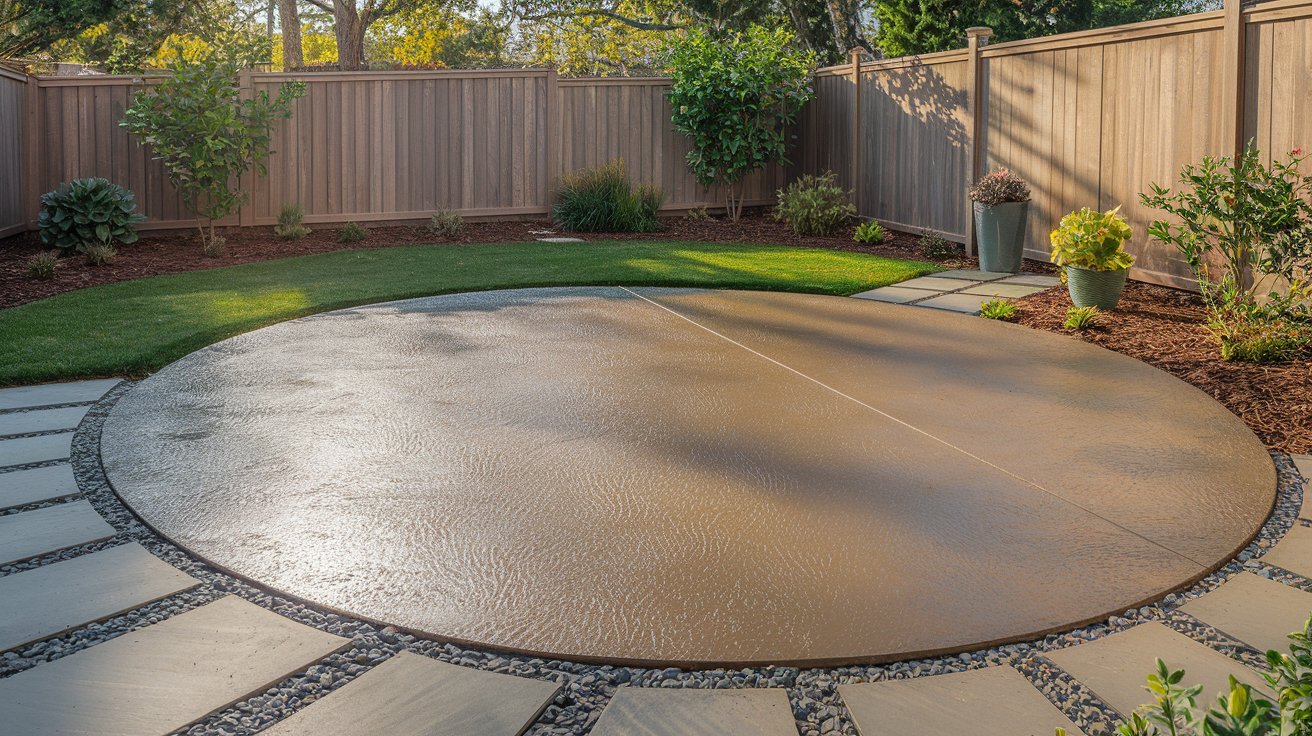
Add Control Joints
Cut control joints every 8-10 feet. Use a groover tool.
These joints control where cracks form. Much better than random cracks.
Curing the Patio Like a Pro
Why Curing Matters
Concrete gains strength as it hydrates. This process needs moisture and time. Poor curing leads to weak, dusty surfaces that crack easily.
Curing Methods
- Plastic Sheeting: Cover the entire patio with 4-mil plastic. Seal the edges with tape or weights.
- Curing Compound: Spray a thin, even coat over the surface. Follow label directions exactly.
- Water Spray: Keep the surface damp with a fine mist. Don’t let it dry out.
Curing Time
Leave coverings in place for 5-7 days minimum. Longer is better. Don’t walk on it for 24-48 hours. No heavy loads for a week.
The concrete continues getting stronger for months. But most strength develops in the first week.
Optional Enhancements
Decorative Borders: Add colored concrete around the edges. Or stamp a pattern into the border area. This creates visual interest without much extra work.
Staining and Sealing: Concrete stains penetrate deep for permanent color. Apply after 28 days. Sealers protect against stains and weather. Reapply every 2-3 years.
Integration with Landscaping: Plan planting beds and walkways to complement your patio. Consider drainage patterns when placing plants nearby.
Common Mistakes to Avoid
- Brooming when concrete is too wet because it creates gouges
- Waiting too long to broom causes no texture from
- Uneven base preparation causes settling cracks.
- Skipping the curing process for a weak, dusty surface
- Poor drainage planning causes water damage over time
- Using the wrong concrete mix causes strength problems
- Irregular broom technique causes inconsistent texture
- Forgetting control joints as random cracking
Each mistake can ruin your project. Take time to do each step right.
Conclusion
You now have everything needed to create a professional-looking broom-finish patio. The key is following each step carefully and not rushing the process.
Remember the critical timing for brooming. Too early or too late ruins the texture. Test the surface with your finger first.
Don’t skip the curing process. It’s tempting to remove coverings early. But proper curing makes the difference between a patio that lasts decades and one that fails quickly.
Pay attention to weather conditions when planning your pour. Avoid windy days that dry concrete too quickly. Keep extra water nearby for cleaning tools immediately after use. Work in sections if your patio is large, and always have a helper for bigger projects.
Start with a smaller project if you’re nervous. Practice makes perfect.
Frequently Asked Questions
How long should I wait before brooming fresh concrete?
Wait until you can press your finger into the surface about 1/4 inch deep. This usually takes 1-3 hours after floating, depending on temperature and humidity. Test in an inconspicuous area first.
What type of broom works best for concrete finishing?
Use a concrete broom with medium to stiff bristles. Avoid soft-bristled brooms that won’t create proper texture. A 24-36-inch wide broom covers more area efficiently than smaller ones.
Can I add color to broom finish concrete?
Yes, you can add integral color to the concrete mix or apply concrete stain after curing. Wait at least 28 days before applying acid stains or dyes for best results.
How thick should my concrete patio be?
Most residential patios should be 4 inches thick minimum. Add wire mesh or rebar for extra strength. Increase thickness to 5-6 inches for heavy-use areas or poor soil conditions.
What’s the difference between a broom finish and smooth concrete?
Broom finish has parallel grooves that provide slip resistance and hide minor imperfections. Smooth concrete offers a sleek look but becomes slippery when wet and shows every flaw.