

Getting a smooth concrete finish makes all the difference in your project’s final look. I’ve seen countless homeowners struggle with rough, uneven surfaces that could have been avoided.
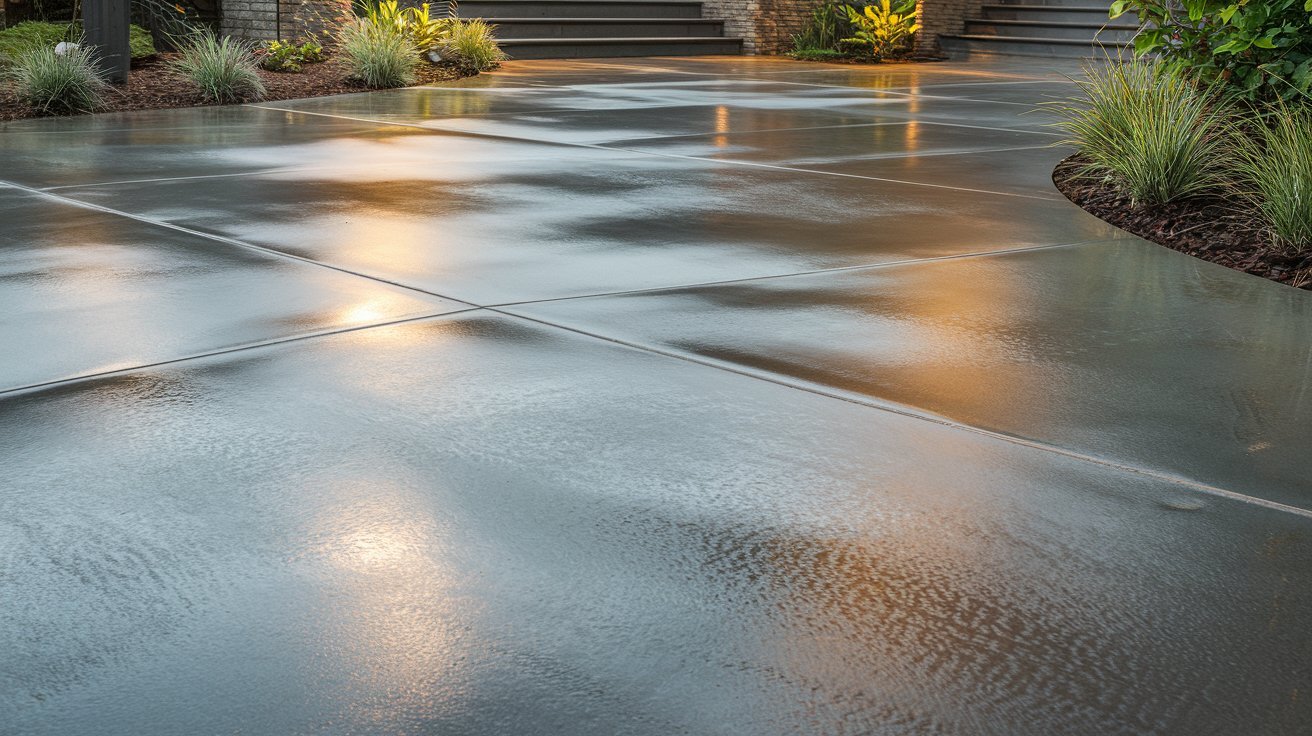
Smooth concrete works well for many applications. You’ll find it on garage floors, basement slabs, and outdoor patios. Commercial spaces use it too. Warehouses, retail stores, and office buildings rely on smooth finishes.
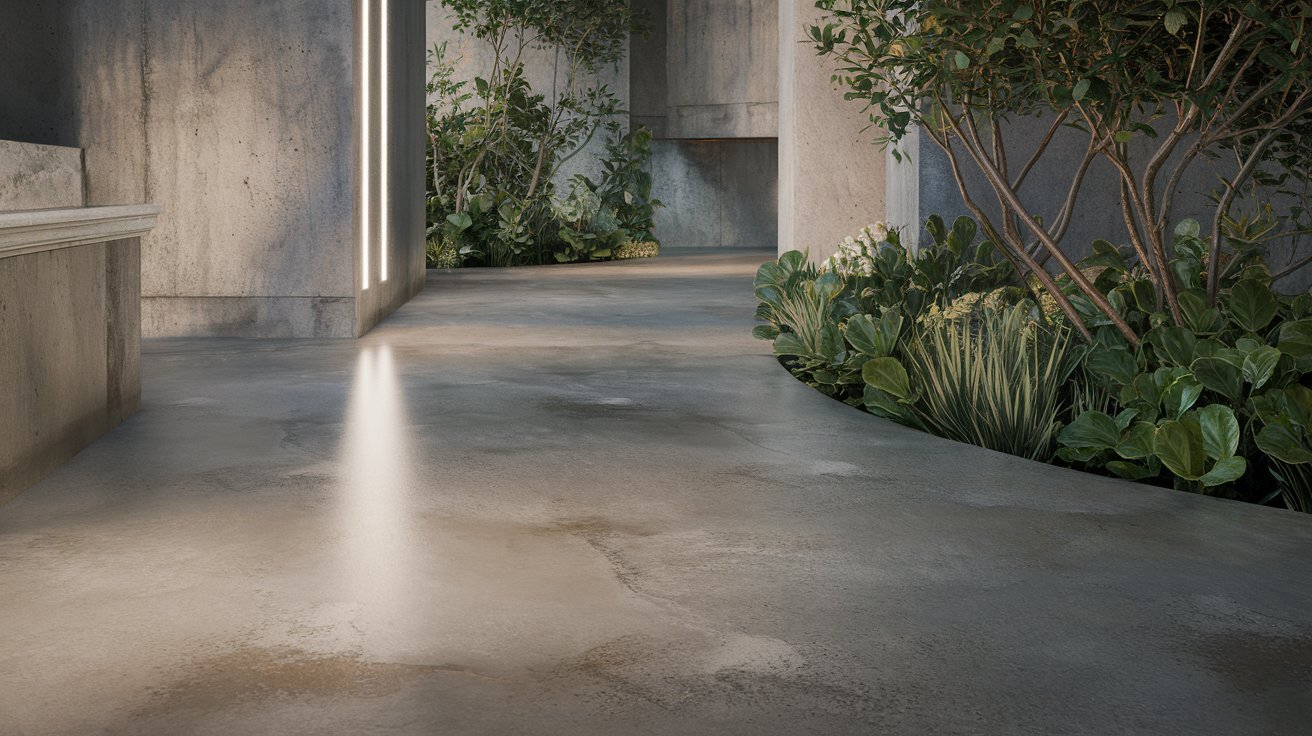
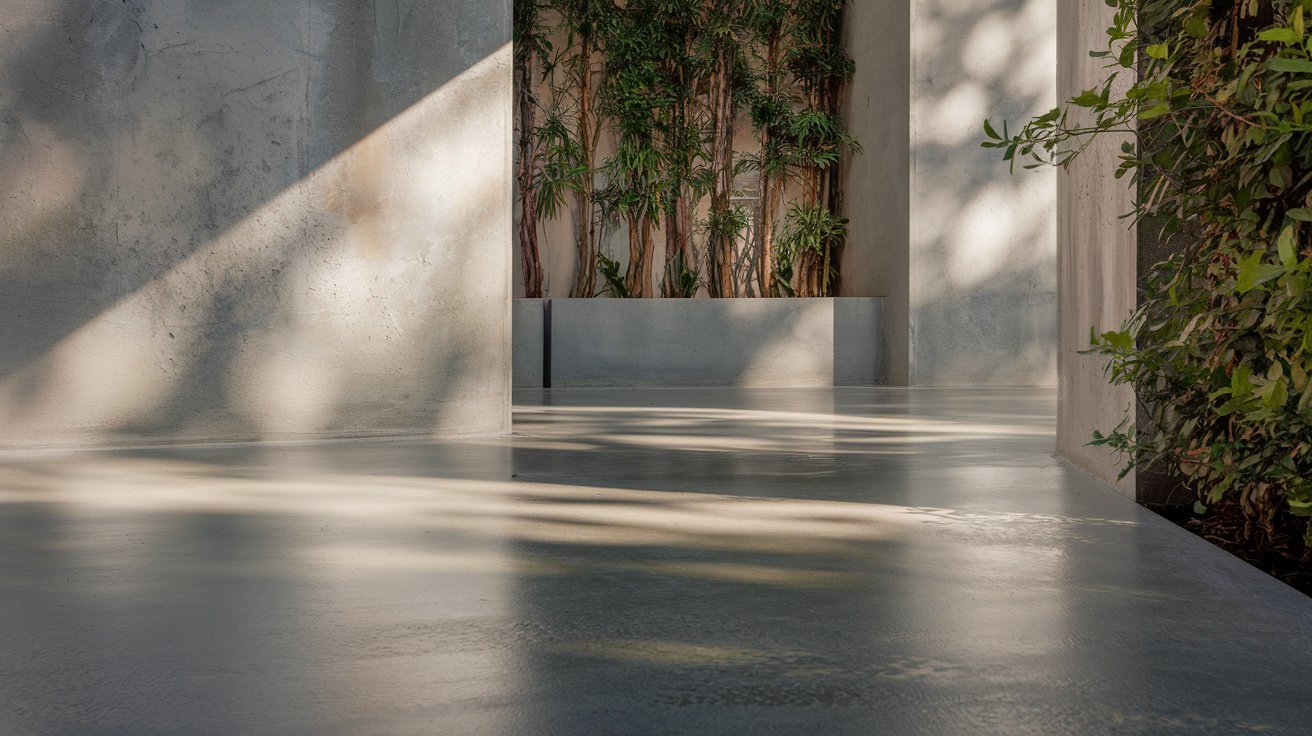
A well-finished surface looks professional. It’s easier to clean and maintain. Plus, it’s safer to walk on.
This guide covers everything you need to know. I’ll show you the right tools to use. You’ll learn proven techniques that work.
Success starts with understanding the process. Each step builds on the previous one. Skip a step or rush through it, and problems multiply. But follow the right sequence with proper timing, and you’ll achieve professional results.
Let’s get started.
What Is a Smooth Concrete Finish?
A smooth concrete finish creates an even, level surface without visible imperfections. The texture feels consistent under your hand. No bumps, ridges, or low spots.
Compare this to other common finishes:
- Broom finish has small ridges for traction
- Exposed aggregate shows decorative stones
- Stamped concrete mimics other materials like brick or stone
Smooth finishes offer clear advantages. They look clean and modern. Maintenance becomes simple as just sweeping and mopping. There’s less chance of tripping on uneven spots.
But smooth doesn’t mean slippery. Proper technique creates texture you can’t see but provides grip.
Essential Tools for a Smooth Concrete Finish
Trowels: Hand trowels give you precise control. Use them for edges and small areas. Power trowels cover large spaces faster. They create consistent results on big slabs.
Floats: Wood floats work best for initial leveling. Magnesium floats bring cream to the surface. Bull floats handle wide areas efficiently.
Edgers and Groovers: Edgers round off slab edges. This prevents chipping and looks professional. Groovers cut control joints to prevent random cracking.
Concrete Screeds: Screeds remove excess concrete after pouring. They level the surface to your forms. Use straight boards or specialized screed tools.
Power Tools: Power trowels speed up finishing on large areas. Polishers create high-gloss surfaces. Both tools require practice to master.
Techniques for Achieving a Smooth Concrete Finish
Pouring and Spreading Start with consistent concrete placement. Don’t dump it all in one spot. Work systematically across your area. Keep the thickness even.
Screeding Level the surface immediately after pouring. Use a straight board in a sawing motion. Remove excess concrete as you go. This step sets up everything that follows.
Floating, wait for the right timing. The concrete should support your weight on knee boards. Float in overlapping passes. This brings fine particles to the surface.
Troweling. This creates the final smooth surface. Start with light pressure. Make multiple passes as the concrete hardens. Each pass should be smoother than the last.
Curing Proper curing prevents surface problems. Keep the concrete moist for at least 7 days. Use a curing compound or plastic sheeting. This step determines final strength and durability.
Concrete Mix Considerations for Smooth Finishes
The right concrete mix makes finishing easier and results better. Not all concrete works the same for smooth surfaces.
- Water-Cement Ratio: Keep your water-cement ratio between 0.4 and 0.5. Too much water creates a weak surface that dusts easily. Too little water makes finishing difficult.
- Aggregate Size: Smaller aggregate works better for smooth finishes. Use 3/8-inch maximum size for best results. Large stones make troweling harder and create surface imperfections.
- Slump Requirements: Aim for a 3-5 inch slump for smooth finishing work. This gives you workability without excess water. Higher slumps lead to bleeding and surface problems.
- Admixtures: Those help Air entrainment improve workability in cold weather. Water reducers maintain strength while improving finish quality. Retarders give you extra working time on hot days.
Ready-mix concrete often works better than site mixing. The quality stays consistent. You can focus on finishing instead of mixing.
Common Mistakes to Avoid
- Working the surface too soon or too late, leading to tearing or poor bonding
- Over-troweling or overworking, which can cause dusting and weak spots
- Neglecting curing or using improper curing techniques
- Choosing the wrong tool for the size or type of project
- Ignoring weather conditions that affect finish timing and quality
- Adding water to the surface during finishing
- Using worn-out or dirty tools
- Skipping the floating step to save time
- Applying too much pressure during initial troweling
- Finishing in direct sunlight without protection
Pro Tips for a Professional Finish
- Use a proper concrete mix with a balanced water-to-cement ratio
- Plan the process step-by-step before beginning the pour
- For large slabs, divide into manageable sections
- Use finishing compounds or sealers for a polished look and added protection
- Practice on a small slab if you’re new to concrete finishing
- Keep your tools clean throughout the process
- Have helpers ready for large pours
- Check weather forecasts before starting
- Rent professional equipment for big jobs
- Take breaks to avoid rushing the process
Conclusion
Creating smooth concrete finishes requires the right approach. You need proper tools and proven techniques. Timing matters more than anything else.
The most important lesson? Don’t rush the process. Concrete sets on its schedule, not yours. Watch for the right signs before each step.
Avoid the common mistakes I’ve outlined. They can turn a good project into a problem. Instead, focus on preparation and patience.
Start with smaller projects to build your skills. Each pour teaches you something new. Soon you’ll develop the feel for perfect timing.
Remember – a smooth finish starts with good concrete and ends with proper curing. Everything in between just connects those two critical points.
Frequently Asked Questions
How long should I wait between floating and troweling?
Wait until the concrete can support your weight on knee boards without leaving deep impressions. This usually takes 1-3 hours, depending on conditions. The surface should feel firm but not hard.
Can I get a smooth finish without power tools?
Yes, hand tools work fine for smaller areas. Use a magnesium float followed by steel troweling. It takes more effort but produces excellent results. Power tools just make large jobs easier.
What’s the ideal weather for smooth concrete finishing?
Mild temperatures between 50-80°F work best. Avoid windy or very hot days. High humidity helps prevent fast drying. Cold weather slows the process significantly.
How do I fix small imperfections in the finished surface?
Minor flaws can be ground out with a concrete grinder. For larger problems, apply a thin overlay or resurfacing compound. Prevention through proper technique works better than repairs.
Should I seal a smooth concrete finish?
Sealing protects the surface and makes cleaning easier. Wait at least 28 days before applying sealer. Choose the right type based on your specific use and desired appearance.